This guide is designed to help you quickly and accurately follow the key steps in setting up an image banner advertisement using A2 and displaying it on an ad placement. You will learn the following:
- Setting up ad placements
- Configuring image banner ads
- Serving ads
- Tracking ad performance
Accessing the Dashboard
When you first use the A2 service, you will receive an email with access instructions. By following the instructions, you can log into the A2 admin account using the email you registered. When you first log in, a message will prompt you to change your password. You can change your password by clicking on your account in the top right corner and selecting the My Account menu.
Allocating Budget to the Admin Account
A2 optimizes ad performance based on the budget allocated to a campaign. To achieve this, you need to assign a budget to the admin account.
- Click
Admin>Account Management>Edit Admin Budgetfrom the left sidebar. - Enter
10000in the available credits field and clickSave Account Budget.
Now that the budget is allocated, the next step is to set up the placements where ads will be displayed.
Setting Up Ad Placements
Before displaying ads, you need to configure ad placements. An ad placement is a specific location where ads will be served, and multiple campaigns can be assigned to it. The optimization model will then personalize ads based on the configured placement.
- Click
Create Placementfrom the dashboard. - Enter the following details while keeping the default settings:
- Allowed Creative Types:
Display - Name:
Placement1 - Description:
Test placement - Width:
1200 - Height:
120
- Allowed Creative Types:
- Click
Create and Edit. - Verify the entered details and click
Save. - Navigate to
Advertising>Placement>Placement Listfrom the left sidebar. - Locate the created placement and activate it by clicking
Activationbutton.
For more details on configuring ad placements, refer to the Placement Guide.
Now that the placement is ready, let’s proceed with creating an ad campaign to be displayed.
Creating Campaigns & Creatives and Allocating
Creating a Campaign
A campaign is the fundamental unit of ad operations, allowing you to set goals and budgets for ad execution over a specified period.
- Click
Create Campaignfrom the dashboard. - Select
Impressionas the campaign goal. - Enter the following details while keeping the default settings:
- Name:
Campaign1 - Description:
Test campaign - Budget:
1000 - Set the campaign start date time to 00:00.
- Name:
- Click
Create. - Verify the created campaign.
Adjusting the campaign start time allows immediate ad display verification. In real cases, set the preferred campaign start time. See the Campaign Guide for more details.
Now that the campaign is set up, the next step is to register creatives for the ad display.
Creating a Creative
A creative is the visual content displayed to users, such as images or videos. In this example, we will create a banner image that redirects users to a specific page upon clicking.
- In the campaign page, click
New Creative. - Select
Banner. - Enter the following details:
- Name:
A2 Banner - Description:
A2 Pricing Page
- Name:
- Click
Create. - Enter
Banner Creativefields and clickSave:- Destination Address:
https://aiderx.io/pricing - Image: Click
URL, enterhttps://cdn.aiderx.app/public/media/a2_banner.png, then clickLoad.
- Destination Address:
- Click
Activeto activate.
A2 supports various creative formats. For more details, refer to the Creative Guide.
Now, let’s allocate the campaign to the ad placement.
Allocating the Campaign
Campaign allocation determines which campaigns will be displayed on a given placement. Ads cannot be served without allocating a campaign to a placement.
- Click
New Placement Allocationfrom the campaign page. - Select
Placement1. - Click
Select and Detailed Settings. - Click
Save. - In the allocation list, click
Request Publication, then clickApprove Publication.
For additional allocation options, refer to the Allocation Guide.
Now that the setup is complete, let’s integrate the ad into a website.
Serving Ads
Using Placement Tags to Request Ads
A2 provides an SDK for easy ad integration. By adding a simple code snippet, you can display ads on your website.
- Navigate to
Advertising>Placement>Placement Listfrom the left sidebar. - Select
Placement1. - Click
Get Placement Tagfrom thePlacement Informationsection.
You can download an HTML example showcasing the implementation.
Requesting Ads from A2-SSP (Supply-Side Platform)
You can now request ad creatives from the A2-SSP Endpoint and receive results.
1. Send a request
   $> curl -X POST \
      -H "Content-type: Application/json" \
      http://{base_url}/app/v0/ad/{tagid} \
      -d '{"version": "0.1.0", "user": {"id": "test_user_id"}}'
2. Check the response
If you see output like this, it's working correctly:
   {
     "version": "0.1.0",
     "ad": {
       "id": "97a5f9d2-8965-45f1-aa3d-a100508a3785",
       "display": {
         "w": 1200,
         "h": 120,
         "banner": {
           "img": "https://cdn.aiderx.app/public/media/a2_banner.png",
           "link": {
             "url": "https://aiderx.io/pricing",
             "ext": {}
           },
           "ext": {
             "cdn": "url"
           }
         }
       }
     },
     "ext": {
       "ad_log": "ZTk0ZWI0ZWItYjZmZC00ZmVjLWIzOWEtMGY0ZWIyODJiN2NmfDJhNGE4OGNhLTI0M2UtNDUwYy1hYjRlLTMyNjc5NmQ5Y2U0OXw5N2E1ZjlkMi04OTY1LTQ1ZjEtYWEzZC1hMTAwNTA4YTM3ODV8MTg1OWZiZTMtYzBiYy00NDU1LWIyMmItZjkwYzk1MDNhOGUxfGJkNWJmOWMyLTI2MGYtNDJjYS04NzI3LWMyZjJkN2EyNjg5MXx0ZXN0X3VzZXJfaWQ",
       "message": "success"
     }
   }
For detailed methods on requesting ads, refer to the documentation For detailed API specifications, refer to A2 API Specification
Sending Ad logs to A2-Event API
Let's learn how to send user-related logs using the A2 Event API.
- The API endpoint is
/app/v0/log.
A2 uses collected user logs for ad model training and campaign analysis.
1. sending ad logs
- An ad log is an event that occurs after showing an ad to a user. You need to include the ad_log from the A2-SSP response.
- A2 uses the ad_log to distinguish ad-related information.
- If you use the SDK, the ad_log is automatically integrated, so there is no need to send it separately.
   $> curl -X POST \
      -H "Content-type: Application/json" \
      http://{base_url}/app/v0/log \
      -d '{
            "type": "ad_log",
            "action": "conv",
            "ad_log": "ZTk0ZWI0ZWItYjZmZC00ZmVjLWIzOWEtMGY0ZWIyODJiN2NmfDJhNGE4OGNhLTI0M2UtNDUwYy1hYjRlLTMyNjc5NmQ5Y2U0OXw5N2E1ZjlkMi04OTY1LTQ1ZjEtYWEzZC1hMTAwNTA4YTM3ODV8MTg1OWZiZTMtYzBiYy00NDU1LWIyMmItZjkwYzk1MDNhOGUxfGJkNWJmOWMyLTI2MGYtNDJjYS04NzI3LWMyZjJkN2EyNjg5MXx0ZXN0X3VzZXJfaWQ"
          }'
2. sending action logs
- An action log records various user behaviors such as clicks, impressions, views, purchases, cart additions, searches, etc.
   $> curl -X POST \
      -H "Content-type: Application/json" \
      http://{base_url}/app/v0/log \
      -d '{
            "type": "action_log",
            "action": "purchase",
            "user_id": "test_user_u0",
            "item_id": "test_item_i1",
          }'
For detailed API specifications, refer to A2 API Specification
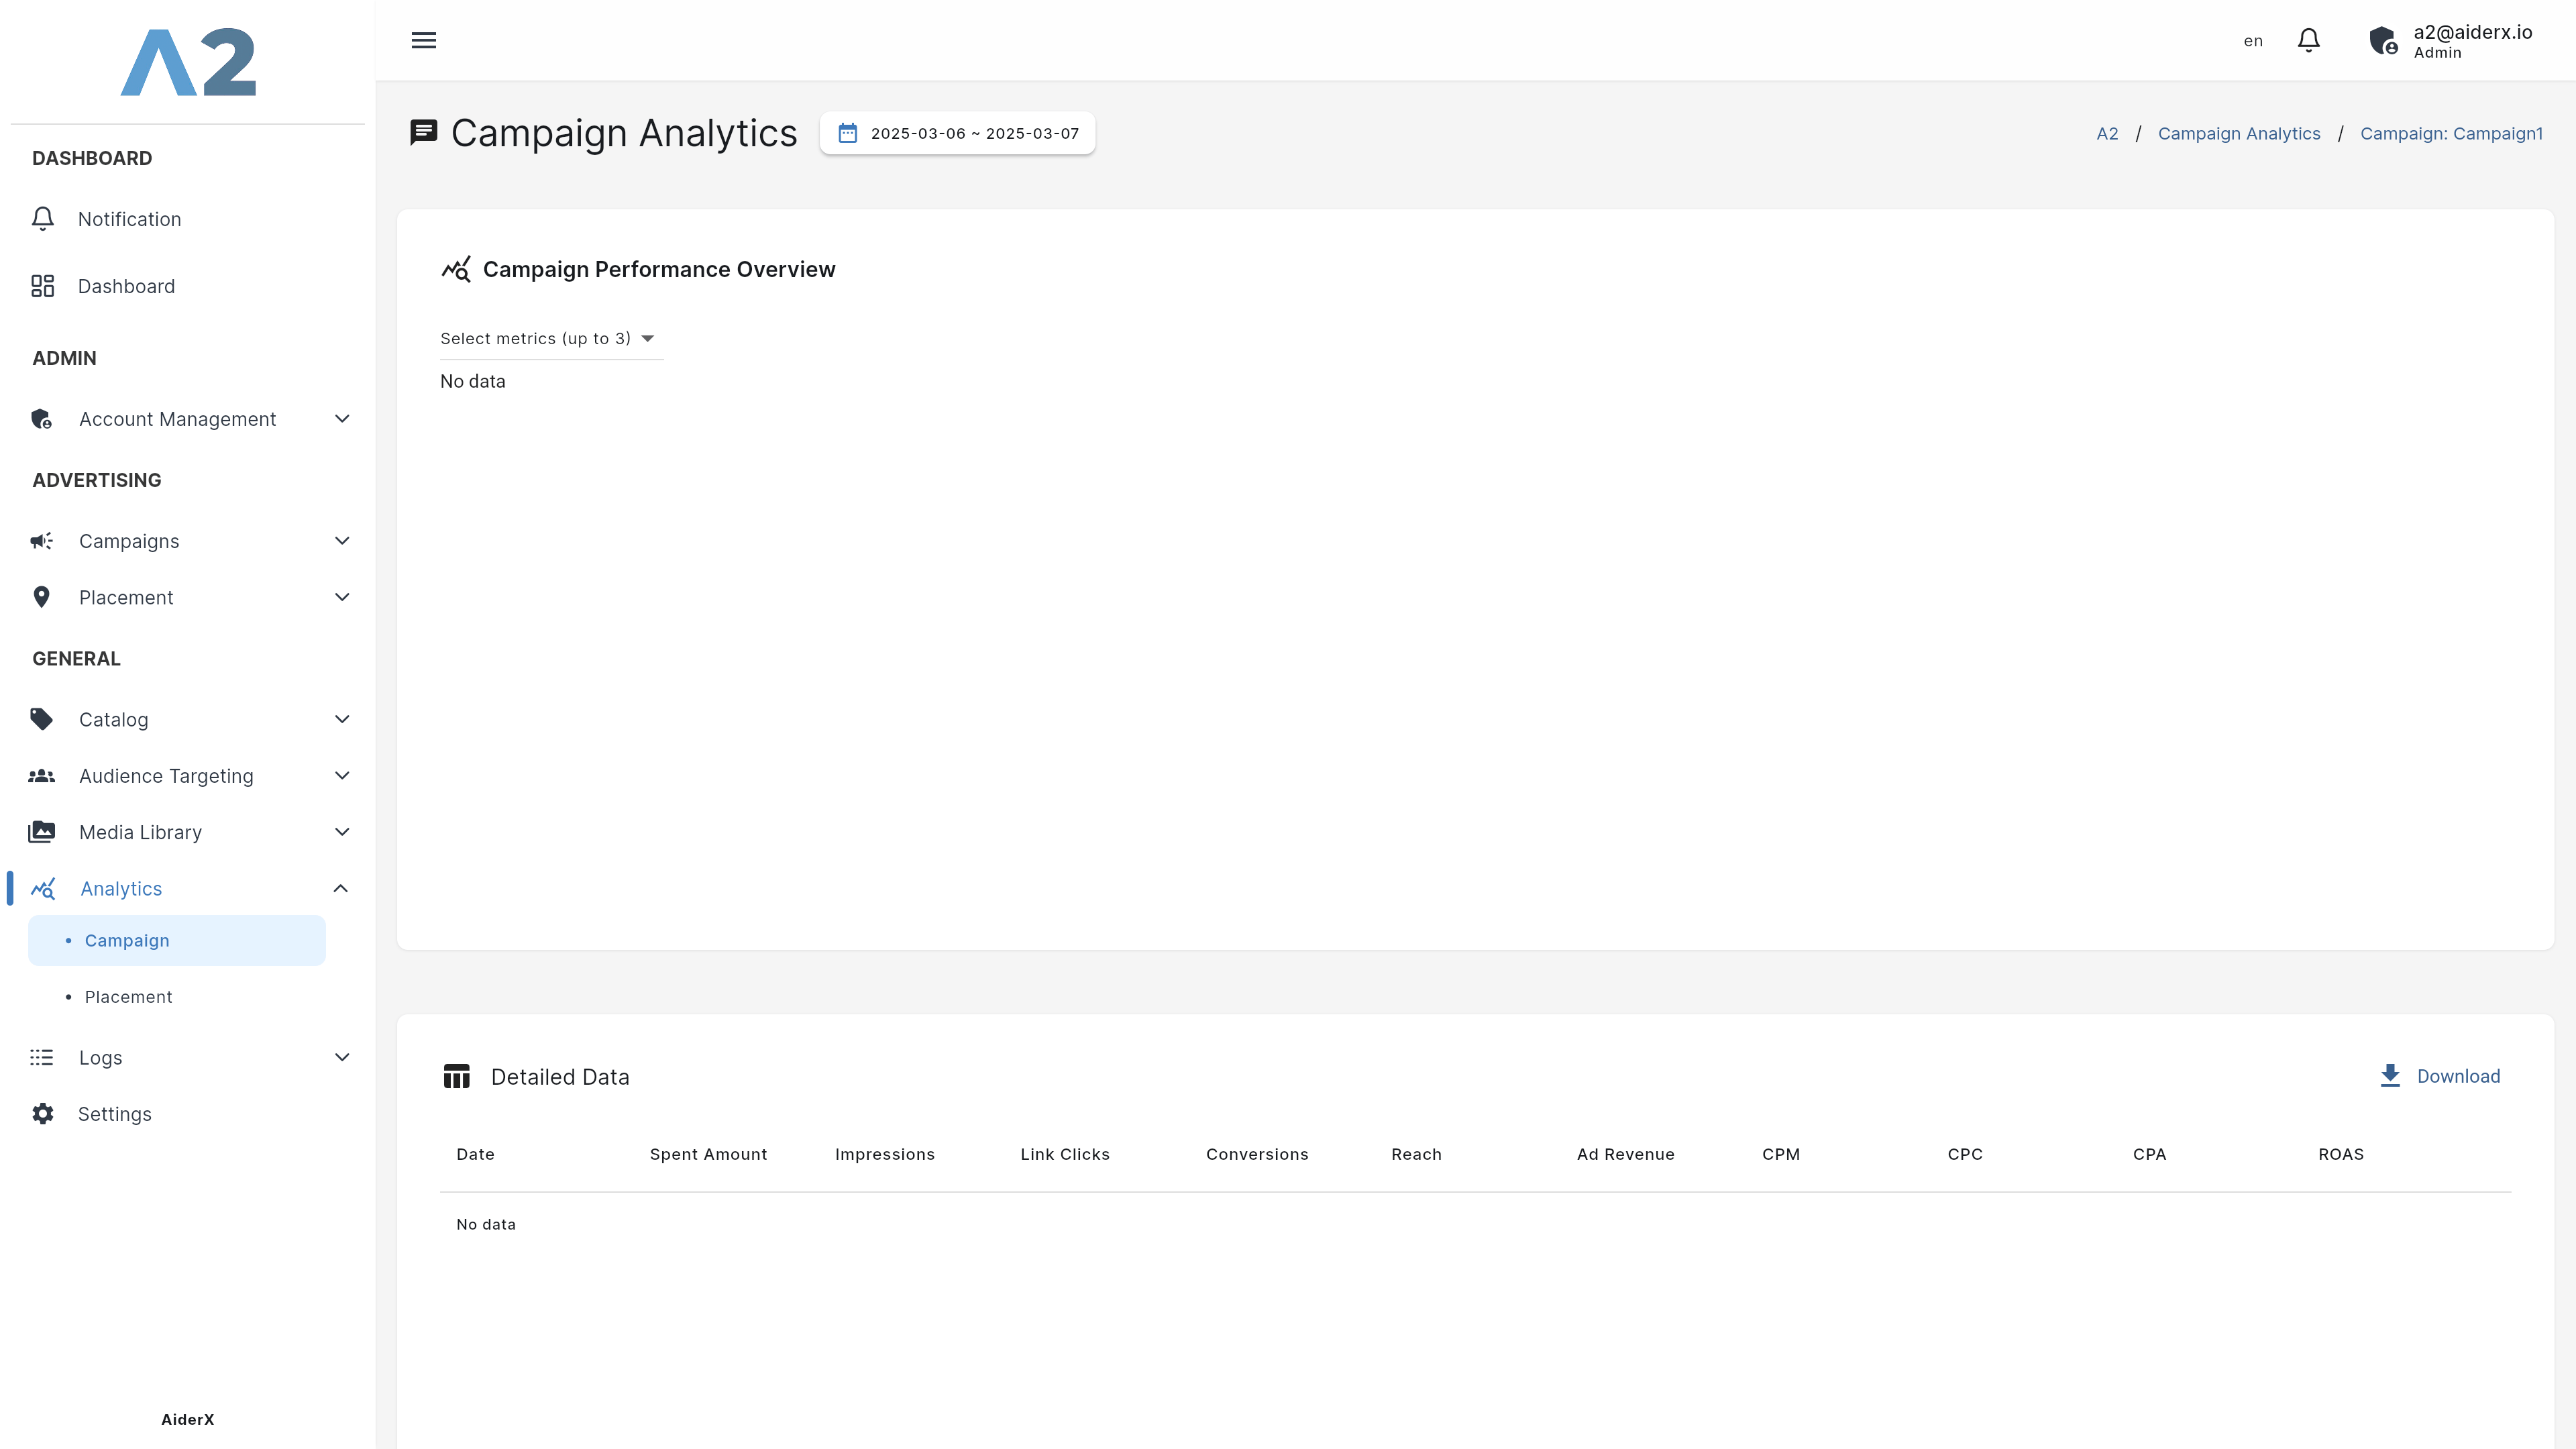
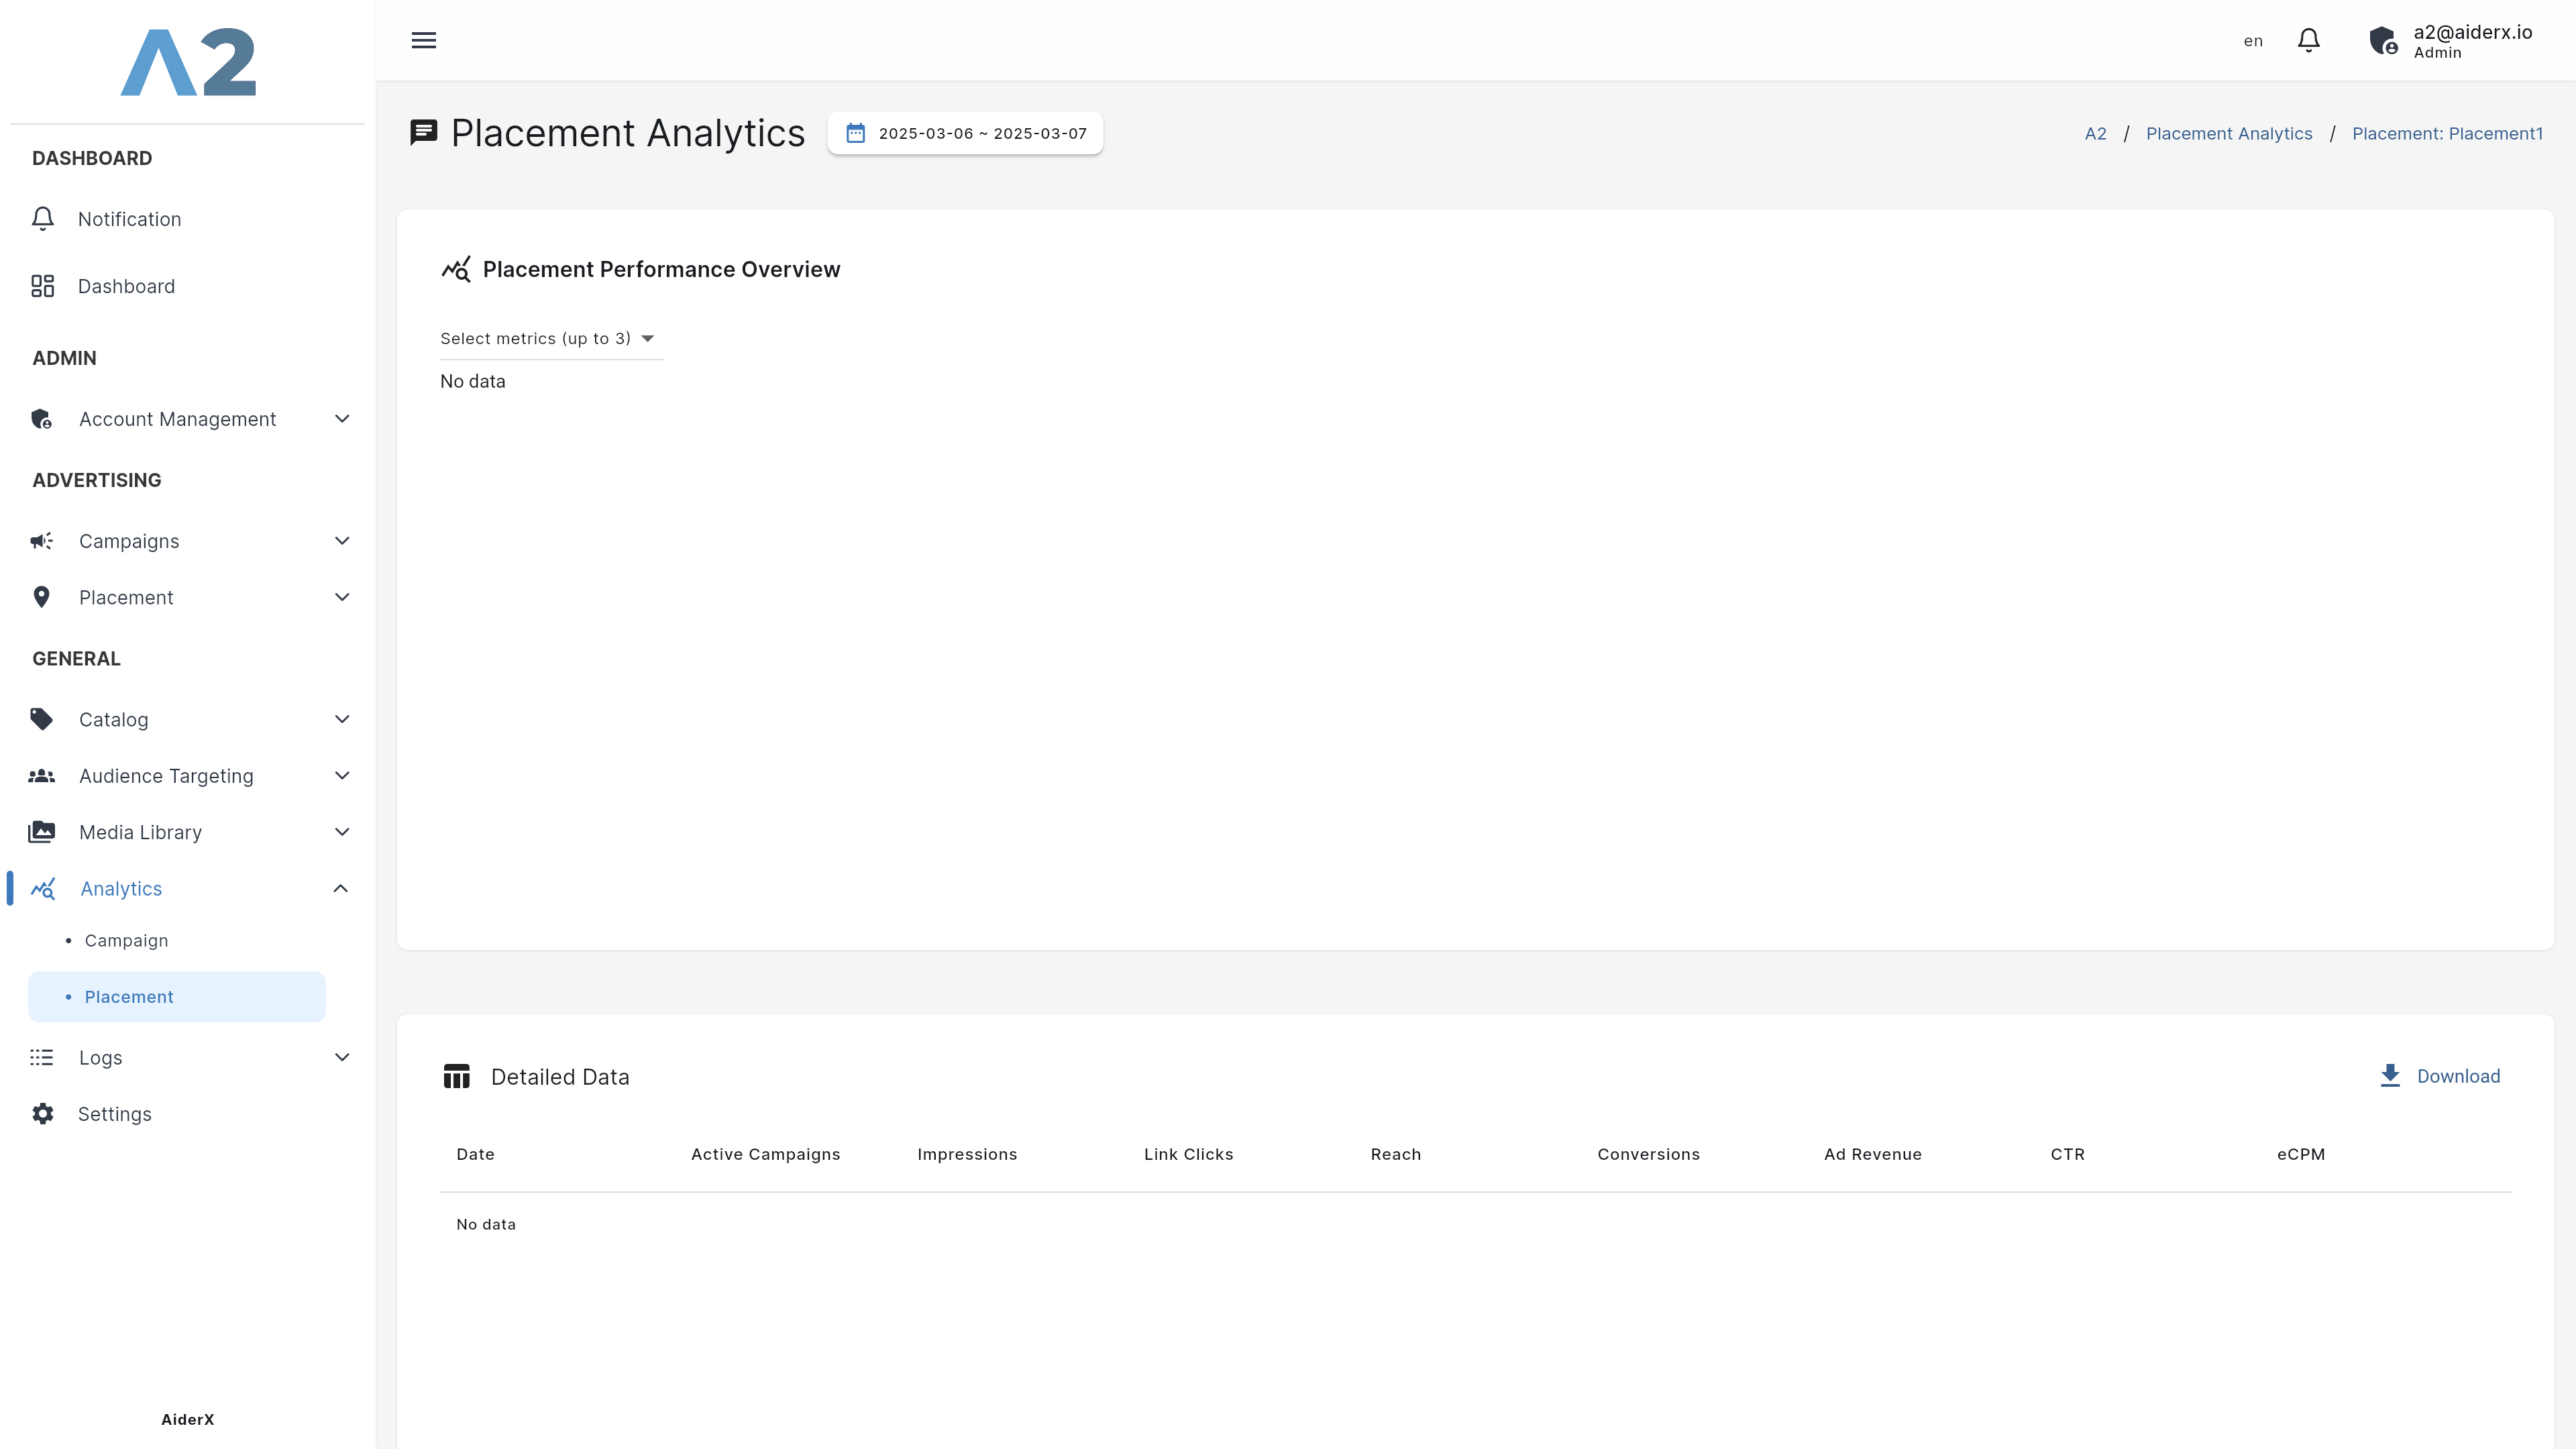
Tracking Ad Performance
Once your ads are live, tracking their performance is crucial for optimization.
- Navigate to
General>Analytics>PlacementorCampaign. - At the top of the
Placement Details Page. - At the top of the
Campaign Details Page.
This concludes the A2 Getting Started guide. We hope this guide has helped you set up A2 in your local environment and understand its basic usage. If you have any further questions, please don't hesitate to contact our support team.
Next Steps
To learn more about A2, check out these resources:
- A2 Architecture Overview - Understand the overall structure of A2 and the role of each component.
- A2 API Specification - Find detailed specifications for all A2 APIs. Refer to this when you want to use advanced features.


